I can't believe how long it's been since I last blogged. I feel like I'm neglecting my card but I guess that's what happens in third year! I promise to get my balance right soon. In the meantime however, I have another 3D card to share.
After the diamond card I made for my brother (See here), I was commissioned one for a family friend. In the theme of Doctor Who. Now, being a Whovian myself, I couldn't wait to get started on this and it ended up being a very well thought out card (even if I say so myself).
First thing's first, I had to dig though all my stash to find some TARDIS blue paper. Not only did I nail it but as you can see from the photo, it was also glittery. I printed out the police box notice in order to make the 18 for the front. This was outlined in silver and the front was decorated with stars (of course).
For the base, I'll admit, I had some help. My brother has been working on his Circular Gallifreyan so I asked if he would write out 'Happy Birthday' for me. Again, the stars came out.
The springy bits was where it got a bit fiddly. I used black card to make some tiny TARDIS's and Daleks, which I then, like my previous card, attached to wire. I added some detail with silver pen. The difference this time however, was that instead of sticking the wire to the back of the card, I stuck it between the card and the paper, which made it neater and left the back completely free for a message.
Any true Whovian (actually, that's a bit unfair because I know I wouldn't be able to spot it), may be able to spot a mistake in the card. There may also be a prize in it if you can tell me what it is. Just for giggles.
Showing posts with label Doctor Who. Show all posts
Wednesday, 23 October 2013
Wednesday, 12 December 2012
Paper Pieced Pictures: Past, Present, Future
So, first up was of course, the best Doctor ever to travel through time and space. I think I was actually watching the most recent Weeping Angels episode when I was putting this one together! I really do love this one and the black pen makes it look as if he's just stepped out of the glossy pages of a comic book. I now have several jealous friends but I feel it is my duty to keep the first - and tester - one. I tried to layer everything in this one so each part of the suit is on a different layer to really make it stand out from the frame.
Iron Man was on my list nearly from the beginning. This one was based on the comic book character although the original inspiration came from the films (Who wouldn't be inspired by RDJ!). Honestly, I'm not overly happy with it. I just couldn't get his shape right but, again, love the black pen detail. I remember this one being quite fiddly to do because of the yellow parts fitting in to the red but the starry paper background really finishes it off. This frame was one of the four that were made for the Victoria Baths craft fair and one of the two that were sold. I may have to make this one again and, now that I have seen The Avengers and Iron Man 3 and The Avengers 2 coming out in the new year, I will have to have a go at some of the other characters . . . .
Fun fact #2: For the Caterpillar's shisha pipe, I used thread, wrapping it all around the picture. It was a bit of a pain to do but the best way to do it and it gives a nice finishing touch I think.
My sister, who funnily enough is also named Alice (all the jokes have already been done!), was eyeing up the Cheshire Cat picture before it was sold at the fair. Sorry, Alice!
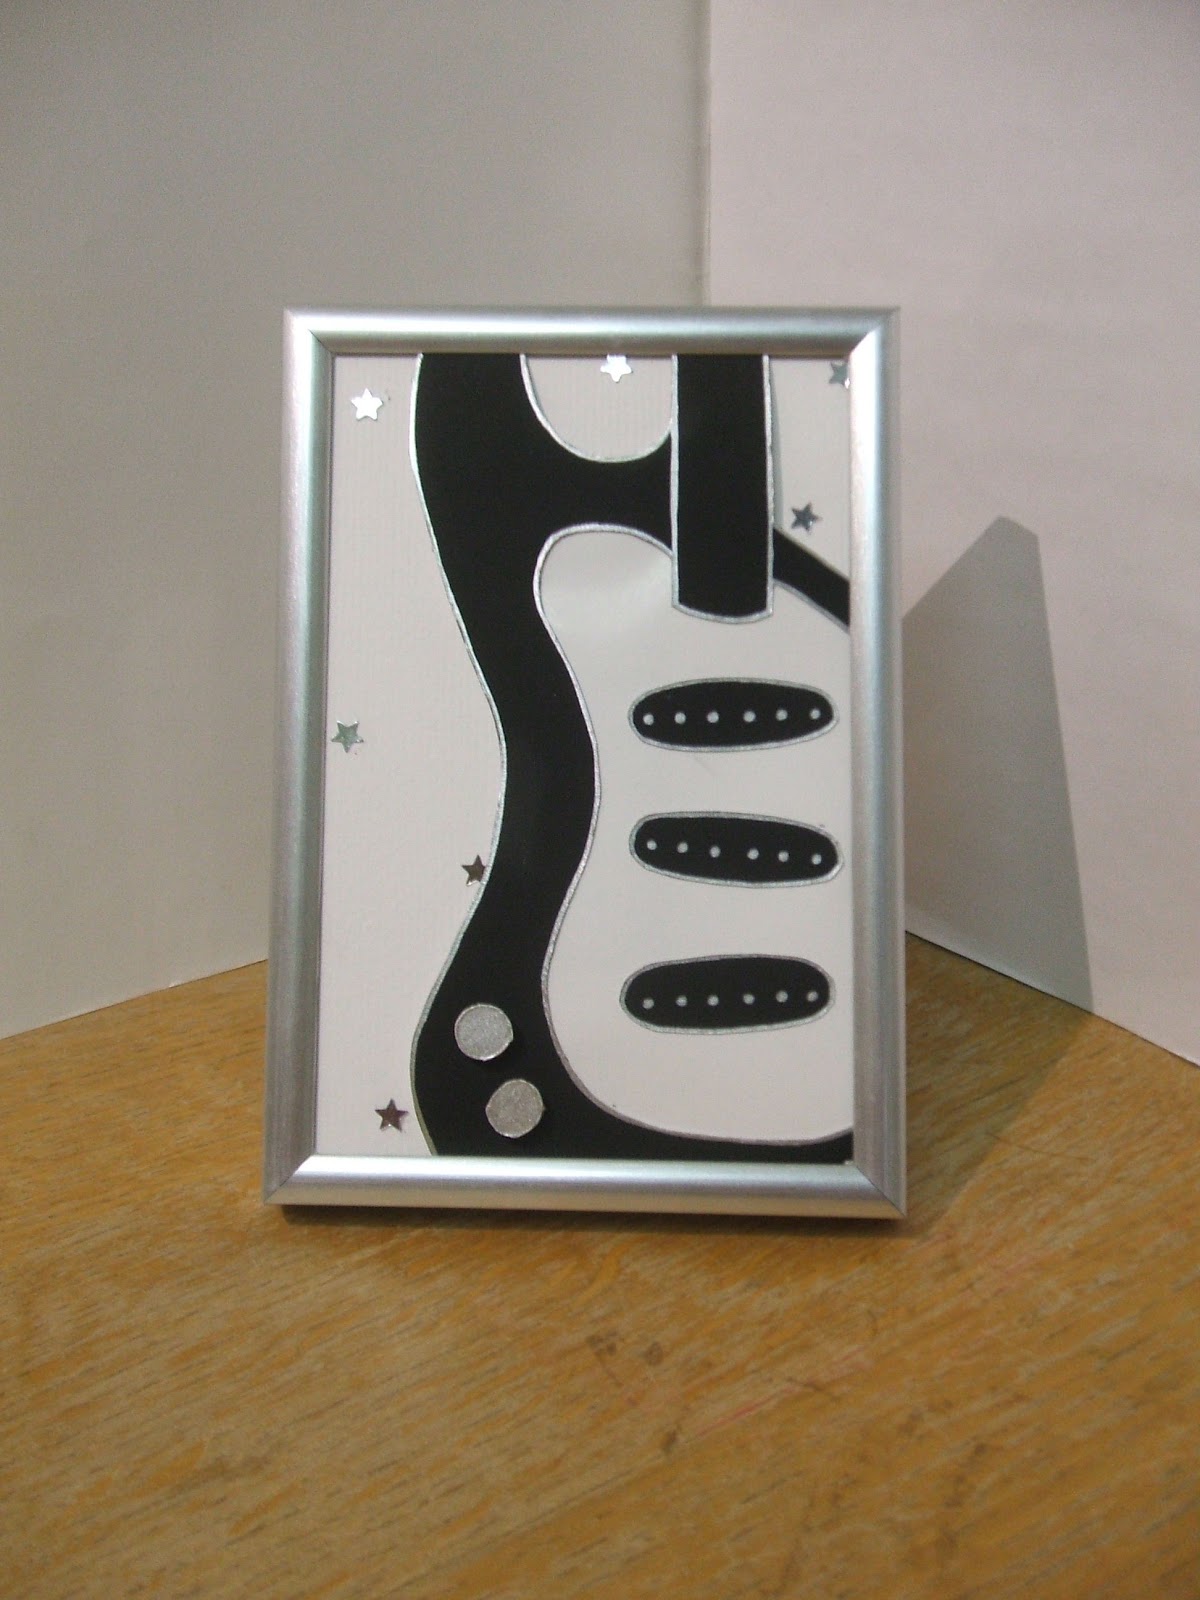
I couldn't very well leave my guitar silhouettes out of the picture - no pun intended - so I picked myself up a smaller frame and had a go. Using silver with the black and white works so well and maybe once I manage to sell this one, I'll make another!
My Jane Austen designs are my most recent and I hope to make some more of these. The first one I made featured a quote, which just happens to be one of my favourites, from Pride and Prejudice. These were a bit different from my original frames as they aren't layers as such, just decorated. I felt that I couldn't really do any novel for my second one other than Emma and I admit I did have to look up the quote on-line - but only because I don't have my books with me! (excuses, excuses, I hear you say) My next step with these is to work on my font, maybe even get out the ol' calligraphy set, and get a list of suitable quotes written down.
The last one I want to talk about can't really be talked about so shhhh! This one is my first commissioned piece so it's all very exciting but I can't really say more than that. Here's a picture though to get you thinking, but if you know what it is, don't say anything!
I still have plenty of ideas to be put down into paper and I think I will be having a go at some of these in the new year but because I'm such an awesome person, I am going to give you some ideas of what you'll be seeing soon.
More period costumes. Computer game heroes. Pie makers. Paranoid Androids. Steam-punk Nerdy roommates.
Monday, 1 October 2012
Paper-pieced Pictures
What a day! Finally stopped working long enough to write this entry. Currently waiting for tomorrow's presentation sheets to publish to PDF. They certainly throw you right back into it in second year!
Anyway. Last night, I finally got to try something I had been meaning to try for a while now. Back in the summer, I made a paper pieced card following the theme of The Joker from Batman. This was - at the time - probably the most complex paper-pieced/decoupages I had ever done and I felt it was wasted on a greetings card. Plus there was that danger of being to fat to fit in the envelope!
So I thought, what if I created decoupaged images to frame. Never actually got around to it until this weekend when I actually went out and bought a wooden picture frame from Wilkinson. That was Saturday. Apart from group project work to be done, I was out Saturday night. Slept in Sunday morning. Was rowing Sunday afternoon. Went to church Sunday evening. Watched Downton Abbey Sunday evening. FINALLY, I got the chance to make my prototype. . . .
I am a big fan of Doctor Who, especially David Tennant's Doctor. I decided to make this the theme of my picture. I had already jotted down a design so I knew exactly what I wanted to do. I just had to sketch it out properly. It was easiest to start with the smallest piece, the shirt and tie and from there I worked up to the suit jacket, bottom part of the suit, trousers, bottom part of the coat, coat sleeves (and lapels) and finishing with his Converse - kinda like dressing an actually person . . . . . concentrate Emma! I added pen details such as pockets, buttons and shadows as I went along. After I had finished, it was not-so-simply a case of choosing the right backing paper and then assembling it all in the frame. I am so happy with the results but have decided that it is not good enough to be sold, it being my first one and so, I have been resigned to having to put up with it sat on my bookshelf. Such a hardship and I suffer greatly because of it!
Anyway. Last night, I finally got to try something I had been meaning to try for a while now. Back in the summer, I made a paper pieced card following the theme of The Joker from Batman. This was - at the time - probably the most complex paper-pieced/decoupages I had ever done and I felt it was wasted on a greetings card. Plus there was that danger of being to fat to fit in the envelope!
So I thought, what if I created decoupaged images to frame. Never actually got around to it until this weekend when I actually went out and bought a wooden picture frame from Wilkinson. That was Saturday. Apart from group project work to be done, I was out Saturday night. Slept in Sunday morning. Was rowing Sunday afternoon. Went to church Sunday evening. Watched Downton Abbey Sunday evening. FINALLY, I got the chance to make my prototype. . . .
I am a big fan of Doctor Who, especially David Tennant's Doctor. I decided to make this the theme of my picture. I had already jotted down a design so I knew exactly what I wanted to do. I just had to sketch it out properly. It was easiest to start with the smallest piece, the shirt and tie and from there I worked up to the suit jacket, bottom part of the suit, trousers, bottom part of the coat, coat sleeves (and lapels) and finishing with his Converse - kinda like dressing an actually person . . . . . concentrate Emma! I added pen details such as pockets, buttons and shadows as I went along. After I had finished, it was not-so-simply a case of choosing the right backing paper and then assembling it all in the frame. I am so happy with the results but have decided that it is not good enough to be sold, it being my first one and so, I have been resigned to having to put up with it sat on my bookshelf. Such a hardship and I suffer greatly because of it!
| The finished and framed picture |
I hope to make more of these and already have plenty of other designs lined up to try. I may even have a go at making some to sell at my soon-to-be first craft fair (that's a story for next time!).
Would love to hear what you all think about it/them!
Subscribe to:
Posts (Atom)