Tuesday, 22 July 2014

Technique of the Week: Tassels

This is the first of who knows how many posts talking about the different techniques I use on my cards. My aim is to write one every week sharing either a tutorial or just some inspiration from techniques I use regularly and maybe a couple of new ones. 

This week's technique of the week is tassels. It wasn't what I originally planned to write about but with current happenings, it seems to fit quite well. As you may have seen in my previous posts, its graduation time and yesterday it was my turn to stop being a graduand (my new word!) and become a graduate. I made a few cards for some close friends of mine who were graduating with me, which is where today's technique comes from. The tassels made would then form part of a cap embellishment to go on the front of the cards. I originally found a tutorial through Pinterest (where else!), but having used it as a starting point, I chose to make my own.

Tassels are really straightforward to make but can be fiddly depending on the size of the tassel and the length of you fingernails! (Shorted makes life so much easier I found out). All you need to make a tassel is:
  • Some thread/string/wool. I used black thread for mine as they were only going to be small but obviously, to make bigger tassels, you would use a thicker material.
  • A piece of cardboard. My tutorial uses foam board as clever me had a clear out earlier in the week and this was all I could find. Cardboard would work better but essentially you need something that is thin and stiff. The size of the cardboard will determine the size of the tassel.
  • Scissors.
To start, cut a short length of thread and lay it across the top of the cardboard. This doesn't need to be too long but needs to be long enough so that it can be tied. The tail will also be used to attach it to the cap itself.
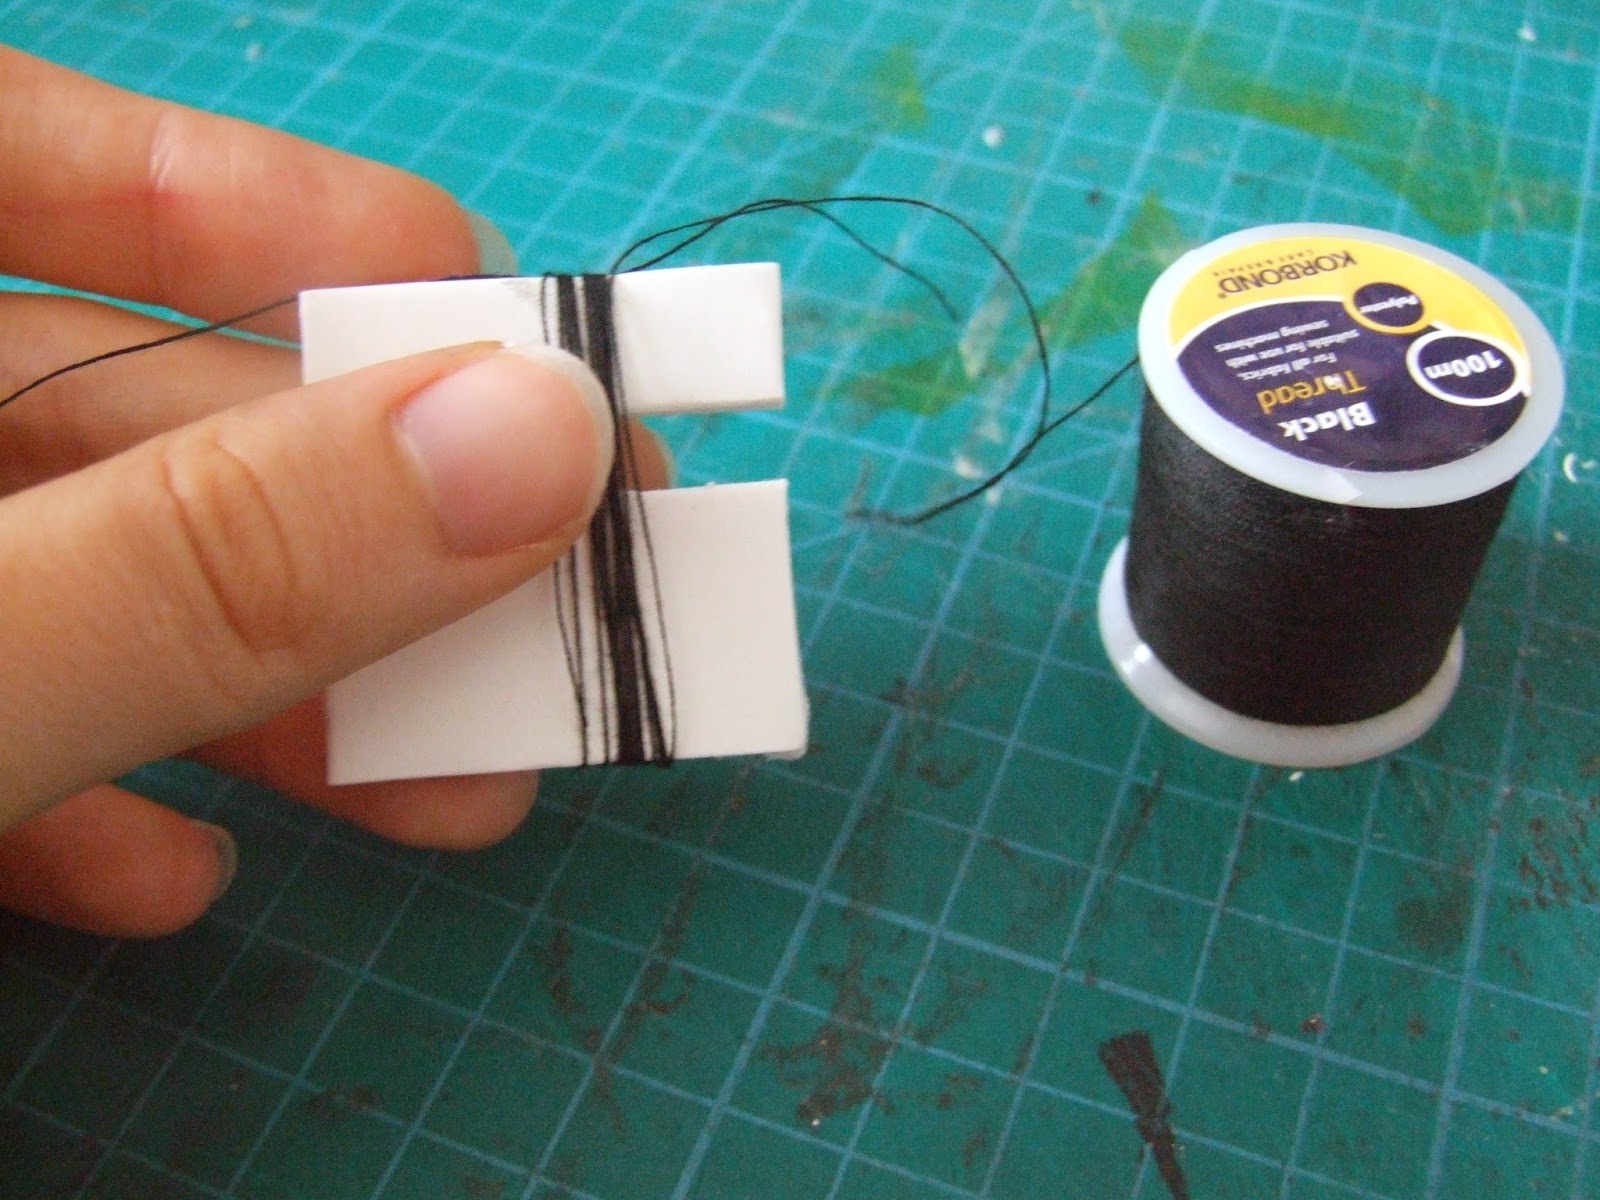
Next, its time to start winding. Starting at the bottom, wind the thread around the board, making sure that you wind over the piece of thread at the top. How many times you go around is up to you, for this one, I went around 20 times. Once you are back at the bottom, cut the thread from the spool.

That thread I mentioned in the first step? Tie it.
Try and make it as tight as possible. I double knotted it just to make sure.
Flip the card over and cut the thread at the bottom. This makes the tassel and also lets you remove it from the card.


This is where it can get fiddly.
The next step is to tie the middle so that it actually resembles a tassel. To do this, wrap some more thread around and knot it. I try to wrap it a couple of times before tying the knot. It can be messy when you are wrapping but once it's knotted, it's easy enough to neaten and arrange. The ends can then become part of the tassel as well once trimmed.

When attaching it to a black card cap, I threaded the tail through a needle and poked it through the centre of the cap, securing it with a bit of cello-tape and trimming the ends.


Three tassels made three caps for three cards. I chose to use my school colours as we are part of two universities. I didn't want to make three identical cards which also let me try out different ways to place the cap.

Having the owl throw it up in celebration was a very simple way to us it: the tassel doesn't need arranging or sticking down.
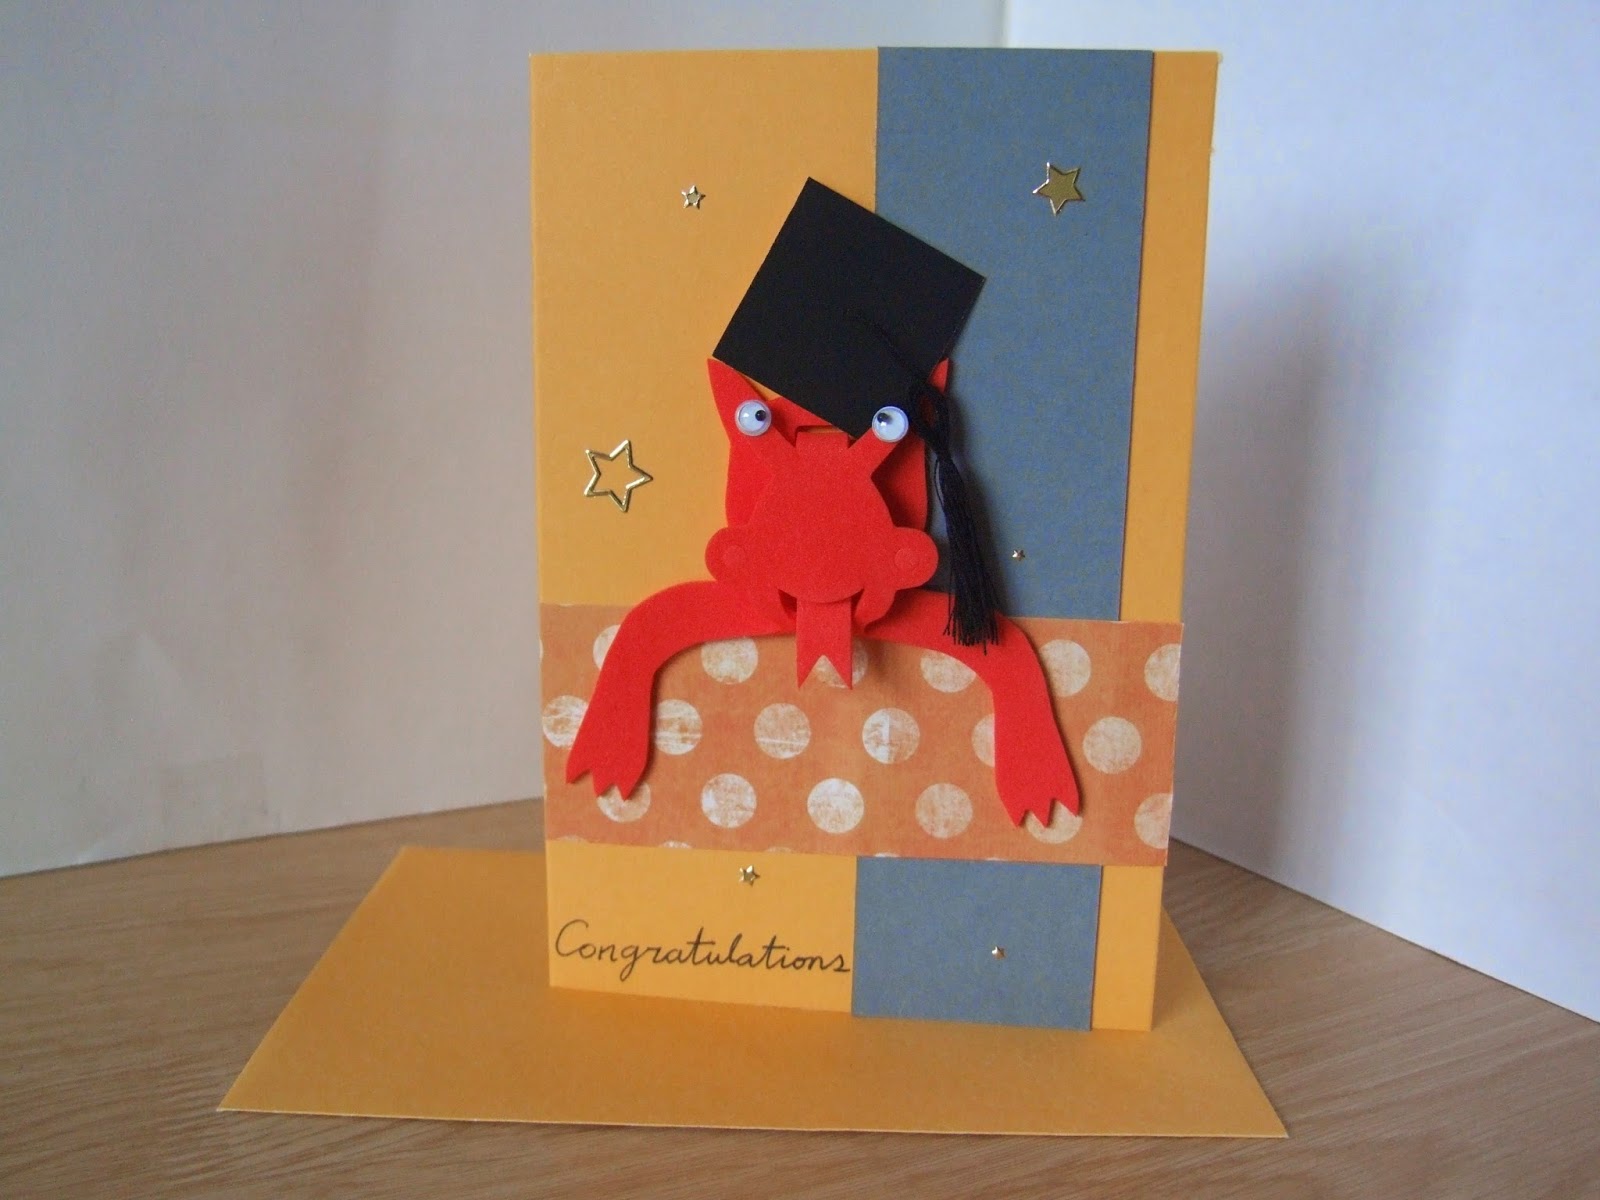

The second card was for a fellow Welshman, and having found this foam dragon in my stash, it was just crying out to be used. I should have however, trimmed the cap down to compensate for the foreshortening (see the third card). The other thing to remember when actually putting the cap onto a figure is to stick the tassel down - otherwise it'll get in the way! Although it would kind of fit in with this goofy looking dragon.


The third card is probably the most traditional of the three. I added a bit of glue to keep the tassel off to the side. This card was also embellished with a degree scroll. This was simply made by rolling a bit of white paper around the end of a paint brush, using glue to seal the end of the strip. To finished I used a bit of red thread to tie a bow around it and flattened the scroll slightly so that it adhered to the card front easily.


Wednesday, 9 July 2014

The Minions Are Taking Over!


Most of us have come across Despicable Me, in particular, those little yellow minions. The minions are very popular with my friends and recently I have been commissioned cards featuring them. Because they are some crazy characters, it opens up a whole load of ideas and essentially anything works, the madder, the better.


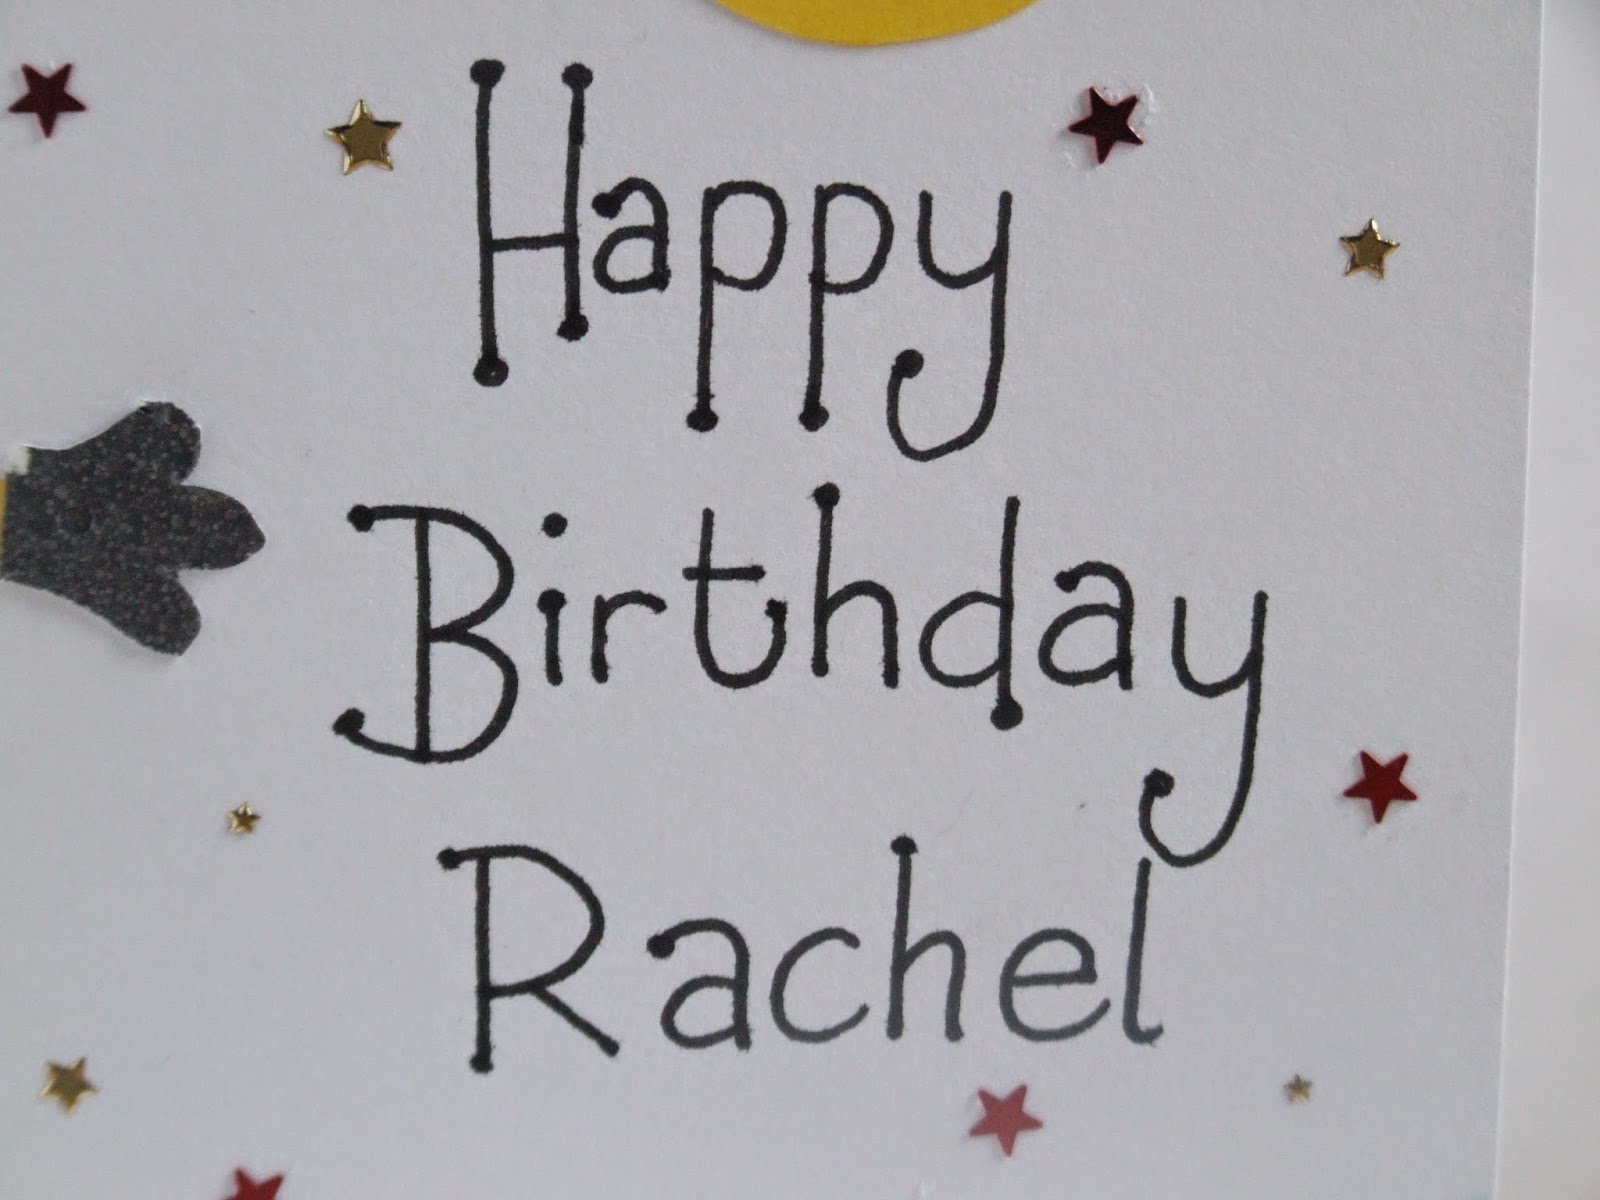
The first card was actually from last October and was a personalised birthday card. I wanted to imply the chaos wreaked by them so rather than having one minion on the front, I chose to show minions all over the place. These were paper pieced and the card was finished with a hand written sentiment and lots of stars.


My second card, more recently commissioned, was again for a birthday. The specification ("a purple minion doing something stupid please") was a little more specific but still gave me a lot of free reign over the design. As the birthday girl was a mutual friend, I was able to design something suitable. I don't think this minion actually looks that out of place slumped in this cocktail glass . . . .


The third card, for the friend who commissioned the previous one, was for graduation rather than a birthday. In a similar way to the previous cards (and almost all of my cards), this one was paper pieced and featured a purple minion wearing a mortar board. My friend, Min, has been regularly referred to as a minion, so this fit well.

Monday, 23 June 2014

Relocation!

I started this blog (and business) in my first year at university and now I am finishing my degree. As you can probably tell, things got pretty hectic over the last 6 months or so and I all but shut down (much to my shame) but every cloud has a silver lining and this one is particularly shiny. I am fortunate enough to have already landed a job in Bath for the next year before I go back to my studies. A job. With regular hours. And weekends. And for a while I wasn't entirely sure what I would be doing with my free time (seriously!) but then I thought about it: having a regular hours job means that I can put regular time aside to build up my business. I've already had a little look at potential craft fairs in the area and there are a fair handful (no pun intended).

In addition to this, Bath is Jane Austen central so something tells me that so regency themed cards and frame will be required!

The more I think about it, the more I'm looking forward to it: a fresh start after this unplanned break should be good.

Sunday, 22 June 2014

Creative Stitches and Hobbycraft Show

This post is well over due but then again, so are many of the soon to follow entries!

Earlier this year, I won tickets to the Creative Stitches and Hobbycrafts show over in Trafford Park. I've never actually been to a show like this before, although when I was younger my dad took me to computer fairs and my mum sometimes worked photography seminars so I kind of knew what to expect. I took my flat mate along with me (more on that later) and I think it's fair to say that a successful day was had by all. I probably more money than I should have but I got some gorgeous new stamps and a Kanban Crafts card kit (which was actually a bargain).


There was just so much there! It was amazing. I was like a child in a sweet shop and didn't know what to look at first. Luckily (or so I thought), my flat mate, Natalie is not a crafter like me so she kept me on a certain level of calm. That was until we came across the jewellery making stalls where they were letting people have a go at making a pair of earrings. I don't have my ears pierced so it wasn't of particular interest to me but Nat decided to have a go and we agreed to meet up there in an hour.

One hour (I completely lost track of time) later . . . .

I headed back to the stall to see her fully engrossed in making her earrings. I left her to her crafting and when I came back a second time, she had bought lots of kit to make her own. And so the craft bug spreads!

Wednesday, 5 March 2014

A Climbing Commission


This birthday card was commissioned by the recipient of my hiking card for a fellow hiker and climber. The idea was that it was the same style as my previous one, except that this one would be a climber instead of a hiker. 

Not being a climber myself (at the time) I knew very little about the technical side of it - having now had a go, I realise the error of my ways but it's another card I'm proud of. The birthday girl also has a German Shepherd so it was requested that one made an appearance. I'm really pleased with the way the twine resembles climbing rope however, I would like to stress that this is NOT how you climb!

As with the previous card, this one is a zig zag and finished with a brown paper rock face. The climber and her dog are paper pieced and finished off with twine and a birthday peel-off sentiment.

Wednesday, 26 February 2014

A Birthday Card from Asgard


My third Avengers card. This one was a personal one for a friend who, like me, is a fan of Loki (he just needs a hug!)

In the same style as my Ironman card and Thor card, I created a paper pieced image, this time using the image from one of the posters for the new film. Detail was added with black pen and is set on a green card blank, finished with a birthday sentiment.

I always struggle with faces, which is why, you may have noticed, that I leave them out most of the time. I can't remember my reasons to drawing it in this time and I don't think it looks too bad. My friend went all fan girl over it when she got it so mission accomplished in my books!

3 down, 5(?) to go!

Friday, 21 February 2014

Chic 21st


It's about time I wrote (apologies) and started to catch up with  my cards - I'm really falling behind. 

This one was for my best friend's 21st birthday. She's always a tricky one to make as I never really know what to put on her cards. I always go down the fashion/dresses route. For her 18th I did an Art Deco themed card (which I was particularly pleased with).


So this year, I opted for a stepper card. I drew the design myself and finished the dress with patterned vellum.
The text was a papercutting, originally traced from Word and then cut out in black card. It was extremely fiddly but I love the effect it makes.