Showing posts with label black. Show all posts

Tuesday, 9 September 2014

Technique of the Week: Silhouettes

Due to the faff of a new city, new job, new flat and a new routine, my new blog posts have suffered. I aim to do better.

This week, I'm focusing on my silhouette cards. These are my go-to designs when I'm sometimes stuck for ideas. My first silhouette cards were a set of Christmas cards back when I was more focused on calligraphy than paper craft and featured different Christmassy shapes with a calligraphed message.


The original silhouette card: I was inspired by my magazine (again) and made this using black paper and finishing it with silver pen detail and white thread strings. I also learnt that day that stitching paper is not the easiest thing to do and vowed never to do it again. I lied. This is probably one of my favourite templates to use and the last card I made before moving also featured it (albeit the evolved version).


I make sure to always have a stash of black card or paper just in case I have the urge.

The key to a good silhouette card is to keep it simple. Because the card has no real detail, it needs to be distinguishable and it needs to be clear what the design is. From my own experience, I know how difficult it can be to judge - I know what it's meant to look like - so I usually borrow my brother or sister and get them to identify the design!
By using black, it lets me use a whole range of other colours. I found white in particular looks particularly bold. I always like to finish them off with a bit of sparkle by using a silver (or gold) pen and peel-offs. 

These two cards used the off-cuts from each other. Anyone who knows the Death Note manga series will know who these two characters are. I was particularly pleased with them because they reflect the characters and their relationship with each other.


This one was a repeat of a card I made for a friend starting a new job. It's still one of my favourite designs because of the way the silhouette stands out against the pink and just makes the shoes pop. (I was particularly happy with the writing as well)

Wednesday, 13 November 2013

3D Cards: The Cascade

With it being a big birthday for my mum back in September, I of course had to do a special card and while looking for inspiration, I found a really unusual design that I just had to try.


When sorting through my craft stuff before I came back to uni, I found my oriental papers that I had completely forgotten about. This teamed with black card (because my stash of card stock is shocking), meant that I could create a really bold design. The red has got a bit of a pink tinge to it but I think it works really well. I accidentally cut both black pieces of card the same way even though they mirror each other. This meant that one side is white instead of black but I think it brightens the card up a bit rather than just having it completely black (well, you know what I mean!). I had some oriental peel-offs so I got to stick these to the paper and cut around them - a technique I really enjoy.

The message goes on a little piece of card that slots in the middle of the card. For this I just cut a rectangle of black card, decorated it with some patterned paper and finished it with a couple of peel-offs. Then, when it was time to write the message, I just used a white gel pen although I expect gold would also look really good.

I think I mixed my orientals with this card (tut tut) but apart from this, I would definitely say it's one of my favourite makes to date.


Tuesday, 16 October 2012

The Card Maker's Birthday

Yes, that's right. Today I enter my third decade (feel old not being a teen any more) . But, I have now booked my craft fair so all that is left to do is to make sure I have plenty of stock ready but that shouldn't be too much of a problem. I did a recent count and I have about 150 cards just lying around although, I haven't done much crafting since I last posted. With this one exception . . . 

Yesterday saw my room mate's birthday and as I am still experimenting with my paper-pieced pictures, I decided to make one for her. 
If you can't tell by the photo, she is a BIG fan of The Nightmare Before Christmas, with Jack Skellington being her Halloween costume this year as well. I used the same sized frame as my Doctor Who one but was able to get it in black (which looks so much better!). I got a bit carried away with my rough sketch and ended up shading it properly but it gave me a template to work with.
To make his pinstriped suit, I used black card and drew the stripes on with a sharp white pencil. I sketched on his mouth and skeletal hand details with black pen but to add a bit of depth, I cut the eyes and nose out and glued some black card behind them. I did a similar thing with his bat bowtie although next time I make him, I don't think I will make it stand out so much as it did get a little bit damaged in transit.
I couldn't give her a present without a card so I made one to match. Originally, I was going to do a similar design on an orange card blank but I couldn't resist the black and purple combo. I am really pleased with the card and as a finishing touch, I had to add a Tim Burton-esque flourish on the envelope.

Friday, 20 July 2012

CAS-ual Fridays

cfc62


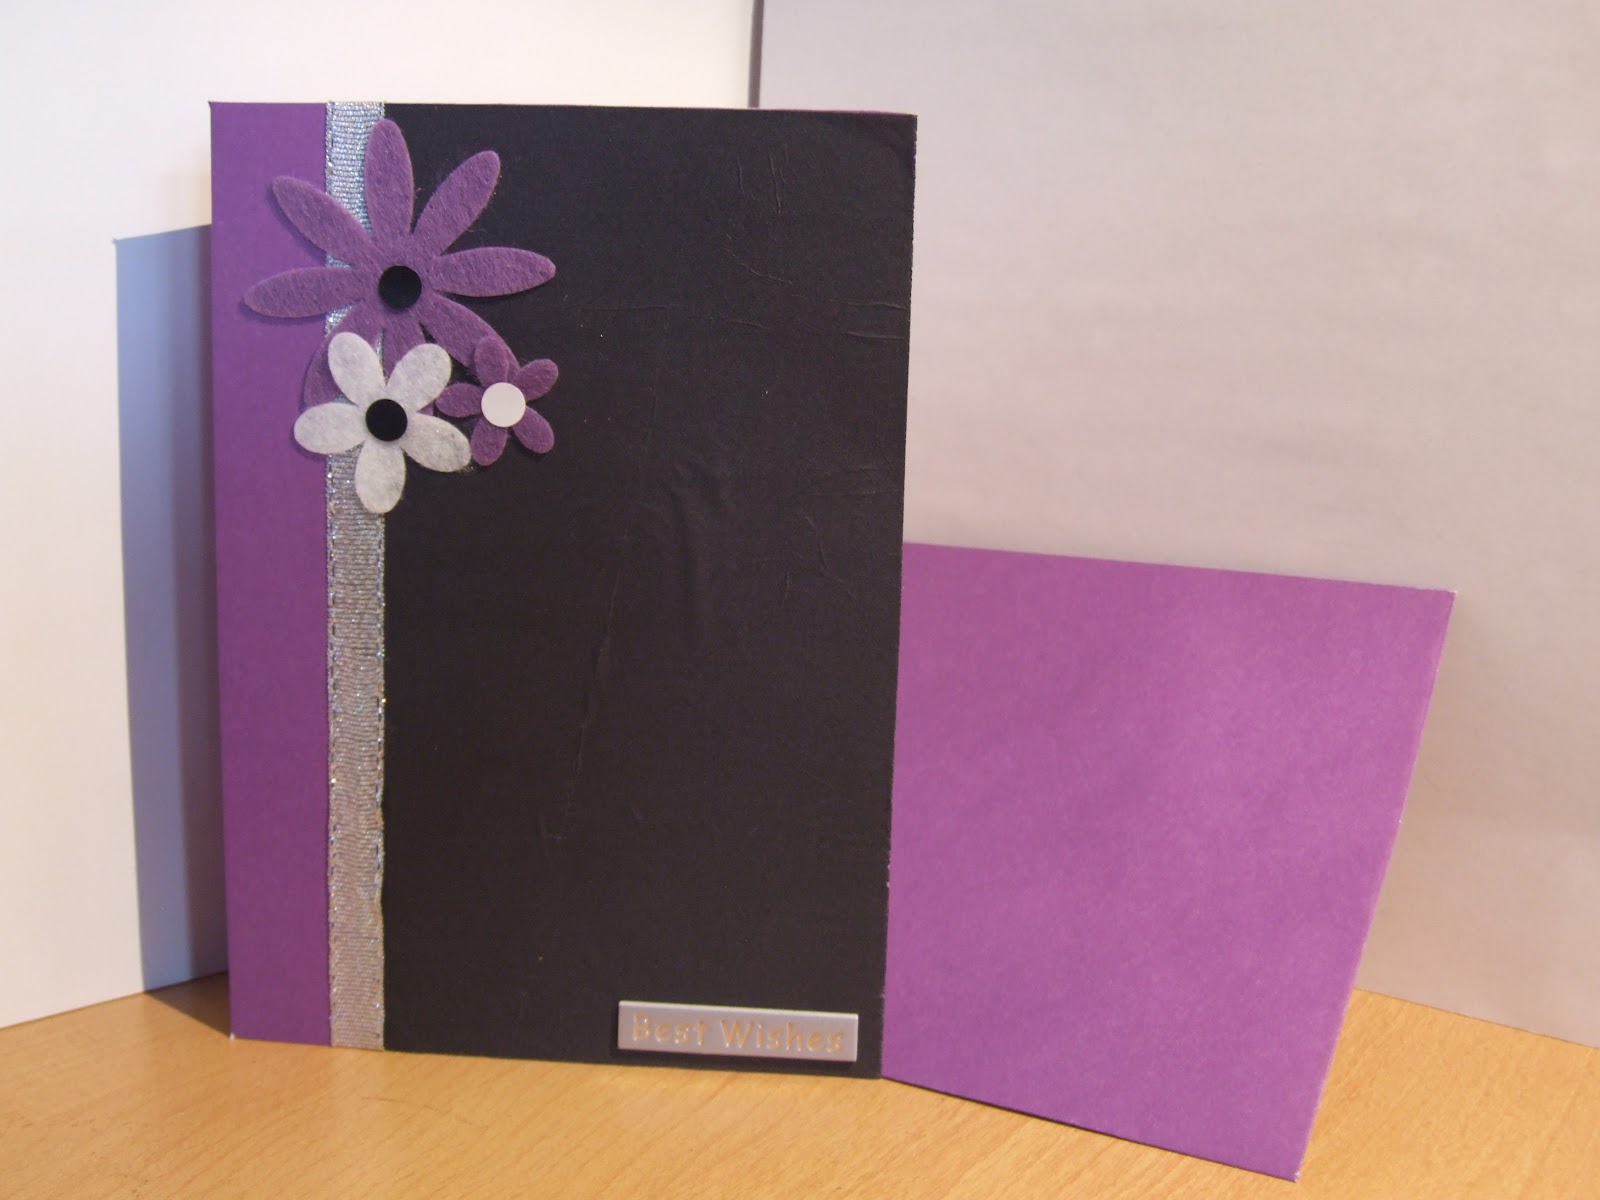
This weeks challenge was to create a card using a black card blank. This proved slightly difficult as I didn't have any but I decided to improvise. As I was (still) sorting out my room this morning, I came across some black tissue paper. I used a purple card blank but use the black tissue to cover the majority of the front, leaving a strip of purple on one edge.


I added a length of silver ribbon to hide the joint and some felt flowers finished with stickers as an embellishment. I finished the card off with a silver 'best wishes' sticker. Hope you like it!